Understanding Blank and Empty Activity in Android Studio
Android Studio is an IDE for creating Android apps. Developers use the IDE to develop awesome Android applications. Every Android developer may have come across with two activities: Blank and Empty Activity, while starting a new project in Android Studio.
A question may come in mind of many beginners that what is the usage of both the activities and which should be used when.

Here are the differences between both the Blank as well as Empty activity,
Blank Activity
While choosing Blank Activity, you will get an option to use a Fragment. Android Studio will create two layout files for the activity i.e. activity xml, content xml; if you choose, Fragment, and then another activity also get added for Fragment.
After adding the project, you can see some bulky code in the layout activity that includes code for Coordinator Layout, Floating Action Button, etc. This may look confusing.
Empty Activity
While choosing Empty Activity, you get an option to select whether or not you want Android Studio to generate a layout file for the activity. If the layout file option selected, then you can see Android Studio adds one layout file. This is difference in comparison with Blank Activity, since two layout files gets created in case of Blank Activity.
Also, selecting “Empty Activity” won’t even provide you with a menu resource file. But, the layout files do not consist of lengthy code for Coordinator Layout, Floating Action Button, etc.
Here’s a tutorial stating the comparisons with live demonstration of adding both Blank as well as Empty Activity. The live demonstration can be seen via a video created and published by us, shown after the tutorial,
Tutorial showing Blank and Empty Activity
Step1: Click a new project and name it, “AmitBlankActivityApplication”
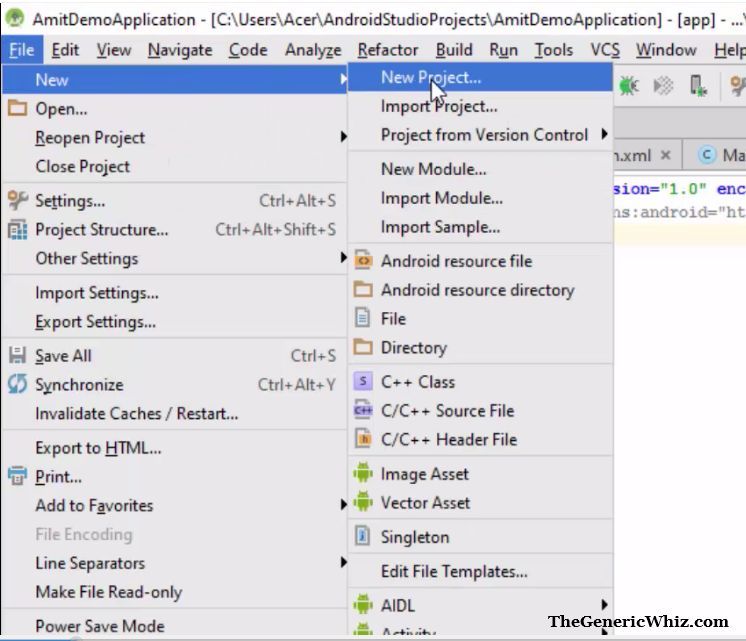
Figure 1- Create a new project named “AmitBlankActivityApplication”
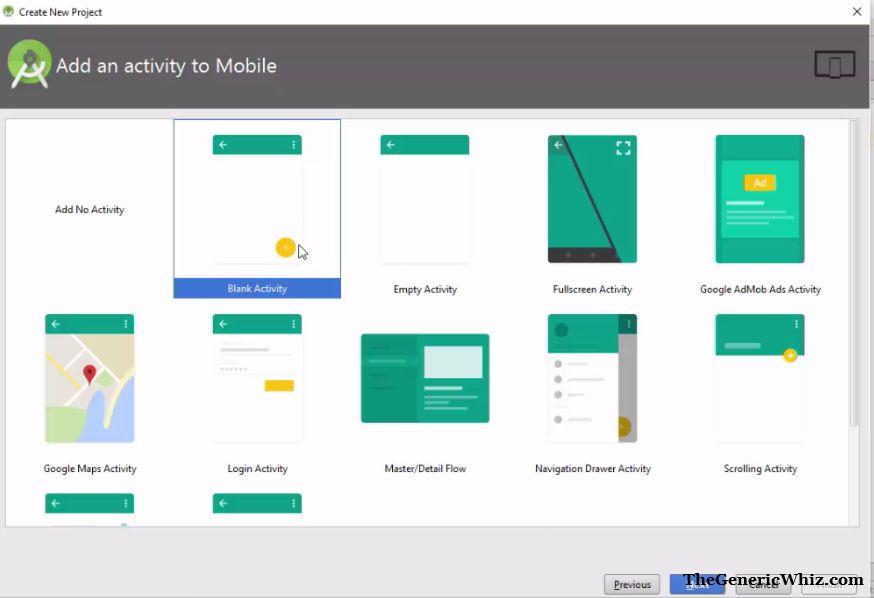
Figure 2- Select Blank Activity
On clicking next, you can see the menu and fragment options are visible.
 Figure 3- Menu and fragment options visible in Blank Activity
Above, we haven’t selected the fragment option. After that the project gets created and now you can see the two xml files in Android project directory,
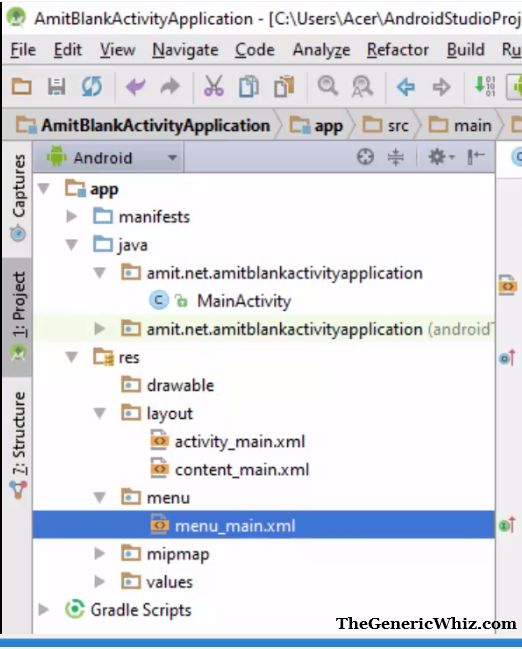 Figure 4: Directory structure of Blank Activity
Step 2: Click a new project and name it, “AmitEmptyActivityApplication”
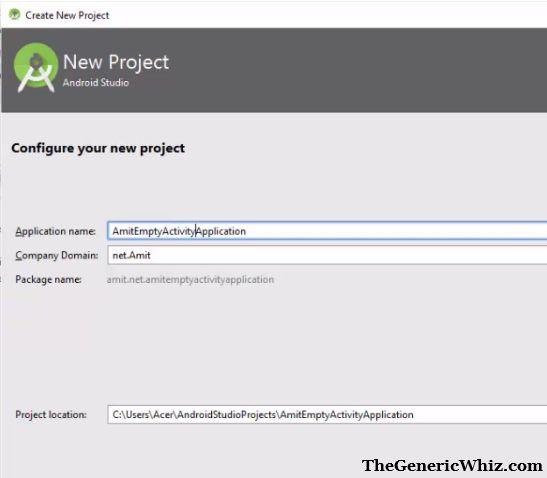
Figure 5- Create a new project named “AmitEmptyActivityApplication”
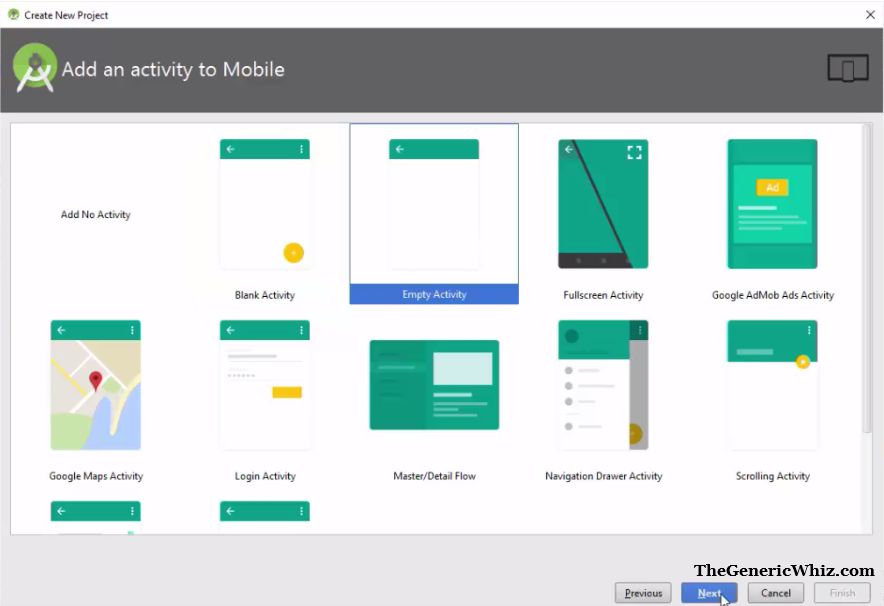
Figure 6- Select Empty Activity
Now, you can see no menu and fragment options are visible in Empty Activity. Now, click Finish,
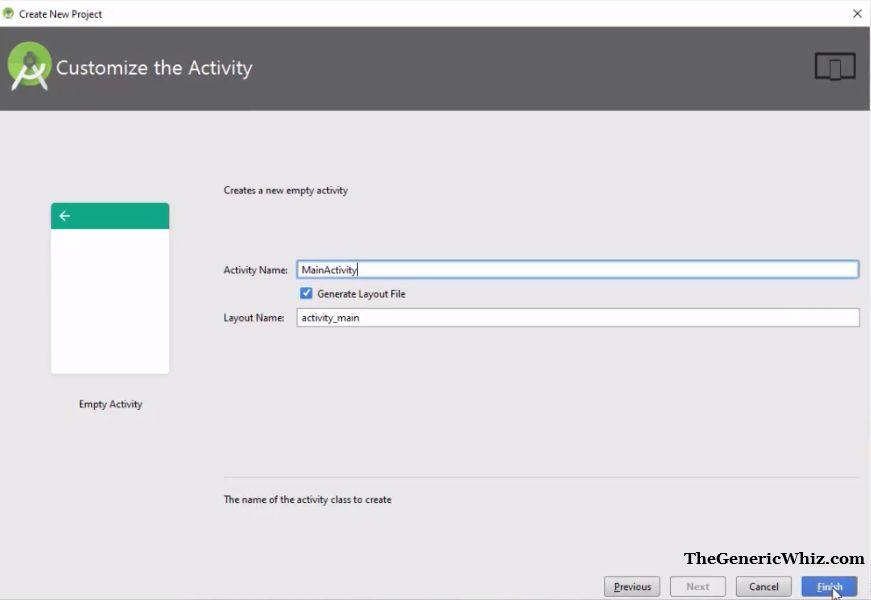 Figure 7- Options under Empty Activity
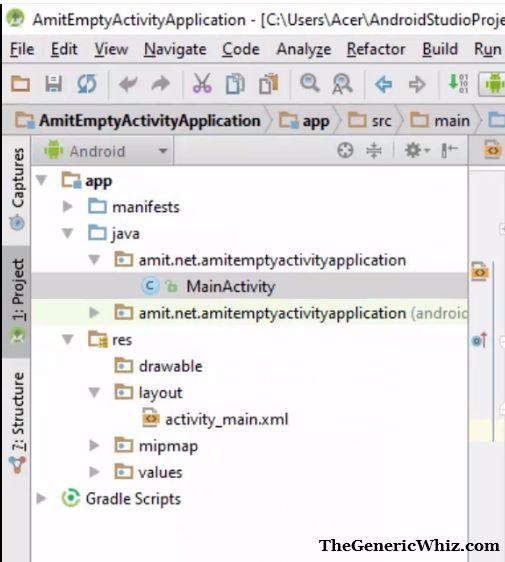
Figure 8- Directory Structure of Empty Activity
Video demonstrating the difference
Here’s the video demonstrating the above steps that explained the difference between Blank and Empty Activity in Android Studio,